Forget the dishes, here's how:
Hi there! Since you're here you're probably interested in stringing a mala, and why not get creative with what you're stringing? I loved making these beads. Warming the cinnamon dough in my hands was a lot like warming up for Kundalini Yoga, and opening the Nadis. The scent of cinnamon lingered on my palms long after making the beads as well!
Here's how to get started:
Stir together the dry ingredients
1 cup powered cinnamon
1 tbsp. allspice
2 tbsp. cloves
1 tbsp. nutmeg
Now mix in the wet
1 c. applesauce (for pliability)
2 tbsp. elmers glue (for firmness)

Pinch off a bit and roll in your palms until you have a nice, little round bead.

Pierce with a small wooden dowl, chopstick, embroidery needle . . . you get the idea. Lay on a baking sheet in an open, airy place to dry overnight. You might want to flatten your beads a bit by pressing down on them. This helps to keep them from rolling around. You'll need 108 cinnamon beads to string your mala. Depending on what style you choose, you'll need 3-4 marker beads.

Now don't just forget about your little darlings. Check back on them periodically flipping them allowing both sides to dry evenly. Your dough will shrink as it dries so it's a good idea poke the holes one more time to keep them open.
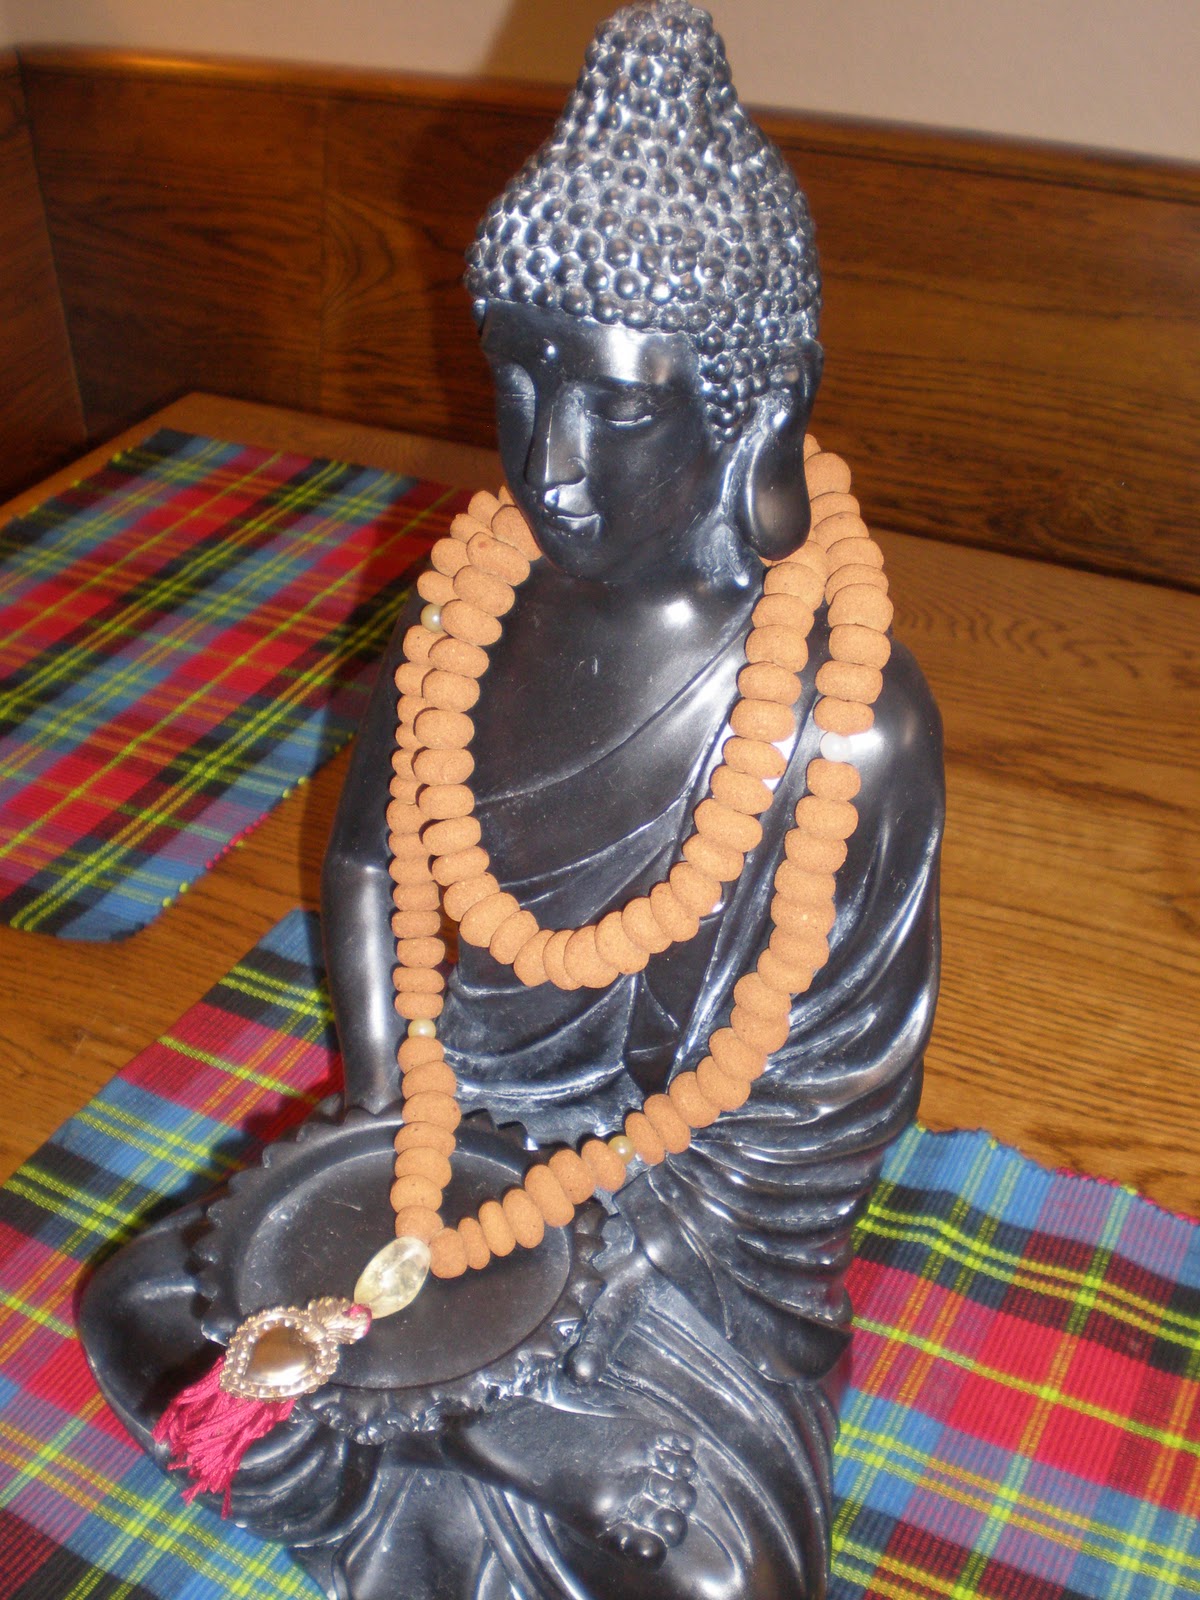
Now you get to choose which style mala you want to string. I used this diagram and chose the Zen Mantra Style, just because. I used some crochet thread I had laying about, and used carnelian spacer (marker) beads. I used a lovely citrine bead for my guru bead. You can use whatever holds meaning for you, or just because you like how it looks and feels. I didn't get too fancy with how I strung the beads, just went for it. I figured the most important step would come when I charged the mala.
I used this tutorial for making the tassel. There are loads of how-to's out there (God bless the Web), so have fun. Investigate, explore. Use whatever technique lends meaning to your creative process.
Blessings!
No comments:
Post a Comment